
In order to unenroll from Windows Device Management (Intune + Entra), the following steps will need to be performed.
Ensure the computer has a local login account
This step requires local administrator rights, so please contact your IT administrator if your current account does not have these permissions.
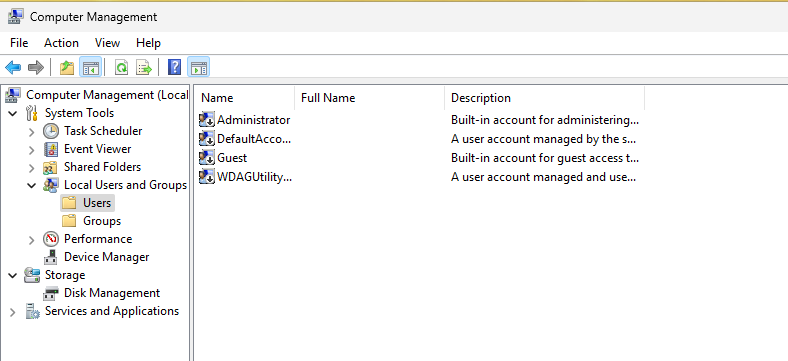
- Right click the Windows Start Button and select Computer Management
- Click Local Users and Groups
- Click Users. If there is any account other than the listed default accounts below, then you can proceed with the next section “Disconnect from Entra”. If not, continue to create a new local account.
- Click Action → New User
- Fill in the information with a username and password and then click Create
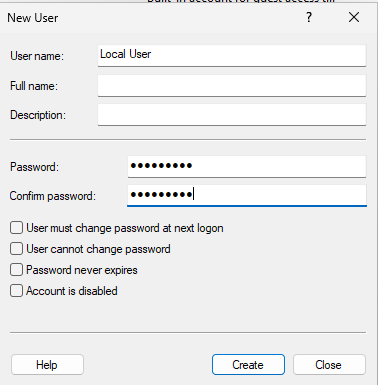
- Close the New User dialog once you have successfully created your local account
- Double click the new account & open the “Member Of” tab
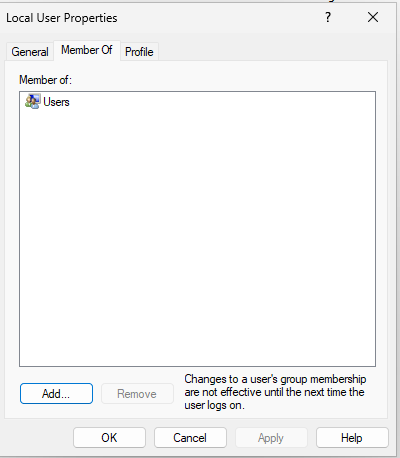
- Click Add and type in “Administrators” to grant this account Administrator access
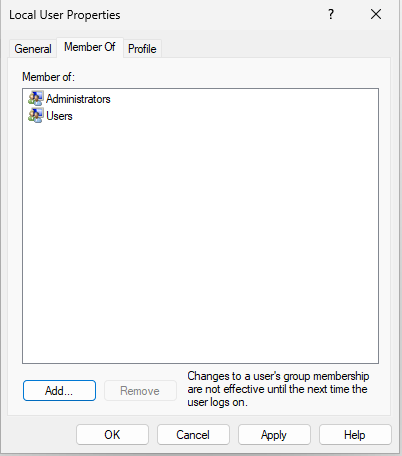
- Click Apply to confirm these settings, and then Ok to close the dialog
- Close Computer Management
Disconnect from Entra
This step requires local administrator rights, so please contact your IT administrator if your current account does not have these permissions.
- Right click the Windows Start Button and choose Settings
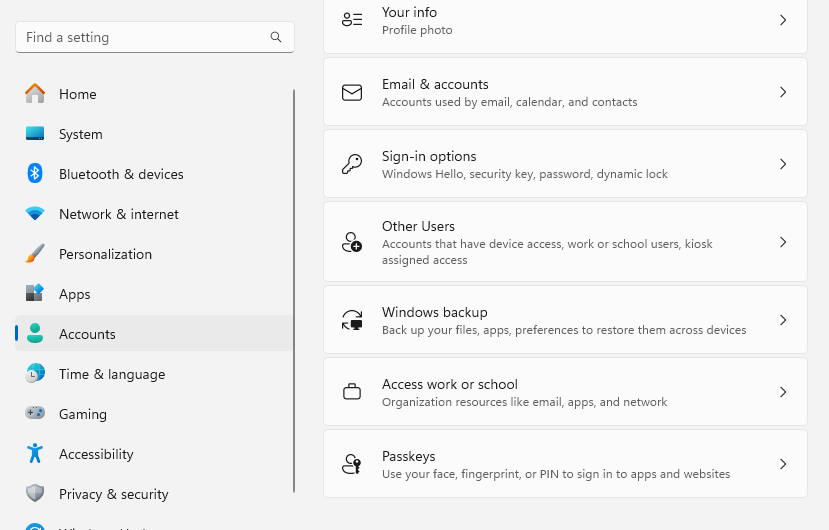
- Open the Accounts section
- Open Access work or school
- From the Access work or school section, locate the “Connected by…” section and expand it to see the Disconnect button
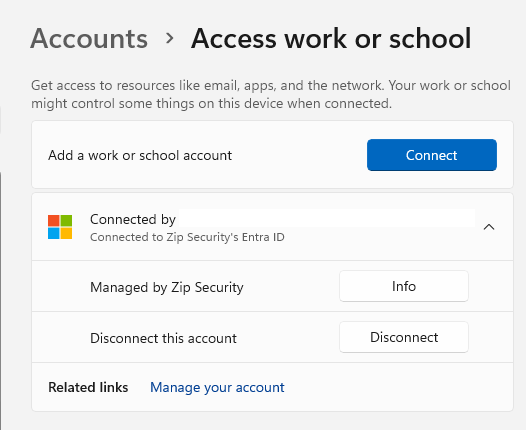
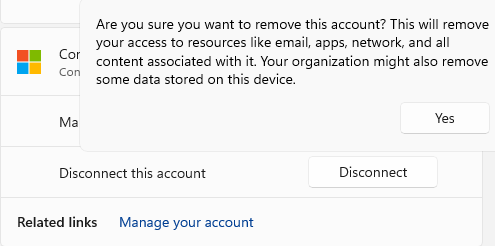
- Click the Disconnect button & confirm the prompt
- Click the Disconnect button on the new prompt
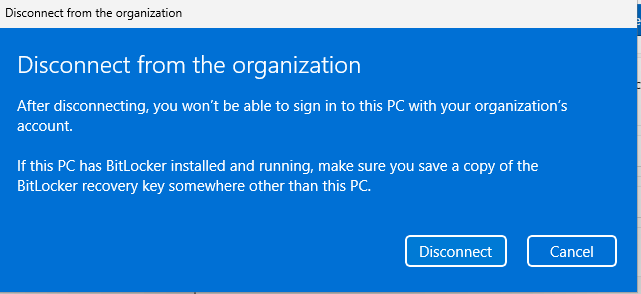
- Enter in the credentials for a local account (such as the one created in the previous section)
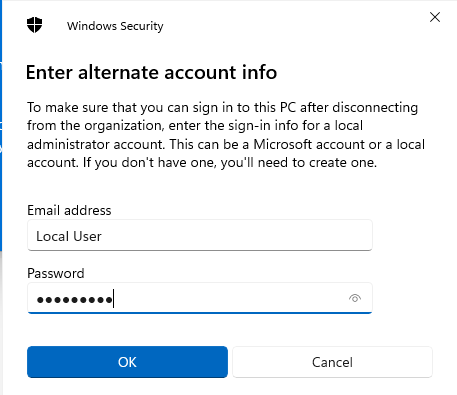
- Clicking OK will complete the disconnect and prompt you to restart the computer
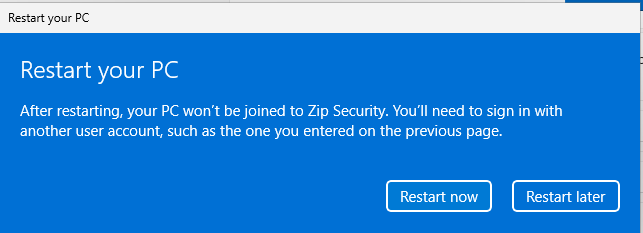
- Restart the computer, and then log in with your local account credentials