
Within the CrowdStrike Alert control you are able to view all open CrowdStrike alerts, including status, severity, user and device impacted, and start/end time. You can then ‘triage’ the alerts directly in the Zip Security console or ‘investigate’ with a single button that takes you directly to the relevant page on the CrowdStrike console.
The Zip console’s CrowdStrike triage capability is intended for experienced users of EDR tools. We are here to answer questions, but Zip is not liable for breaches or attacks.
For 24/7 incident response by a team of experts, ask us about our managed detection and response package with our partner, Coalition.
Coalition MDR handles all investigation, response, and incident reporting so that you don’t want to
Reach out to info@zipsecinc.cc if you would like to get onboarded or learn more.
Being Notified of a CrowdStrike AlertIf you see a new alert, complete the following steps:Finding the alert in CrowdStrikeInvestigating the risk in CrowdStrike1a. View the Detection details1b. View the Automated Lead details2. Assess the risk3. Triaging the alert
Being Notified of a CrowdStrike Alert
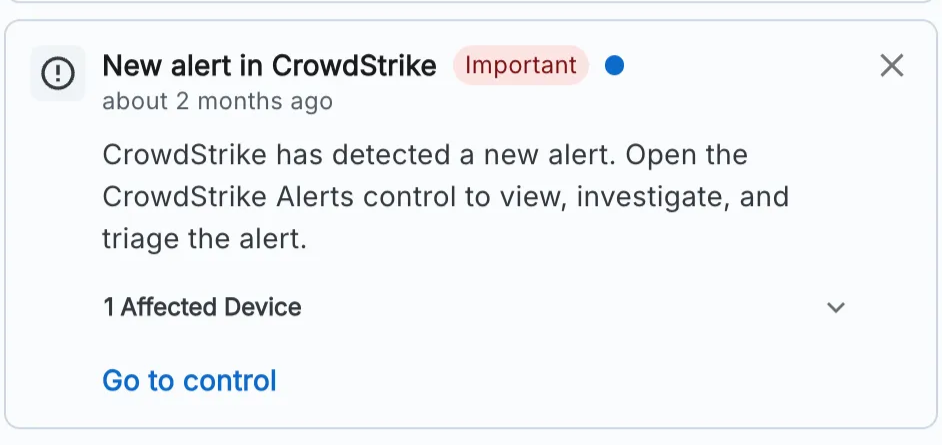
Our notification center will alert you to any new CrowdStrike Alert. You should investigate each alert to address it and close it out. You can check your notifications by clicking the ‘bell’ icon in the top right hand corner of your Zip console. A CrowdStrike alert will look like the following:
If you see a new alert, complete the following steps:
Finding the alert in CrowdStrike
- Navigate to the CrowdStrike Alert control
- Under the ‘Progress’ tab, you will find a table detailing all open alerts:
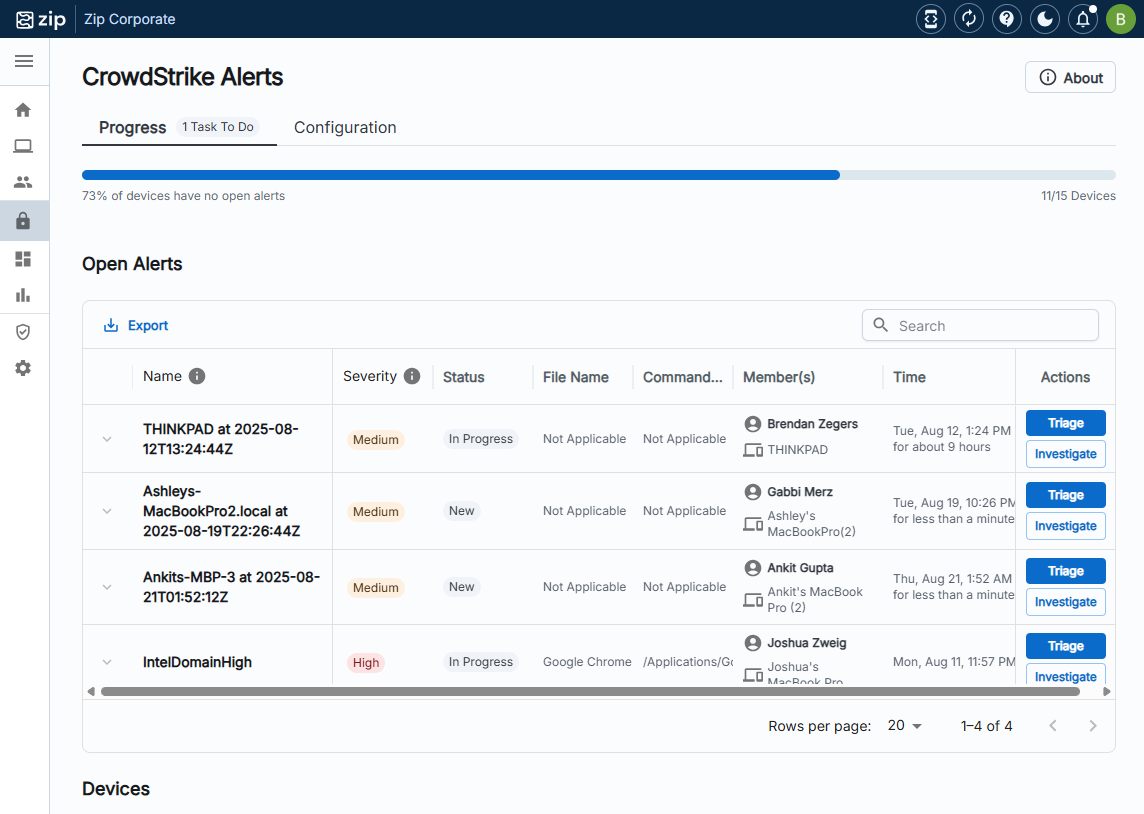
- Here you can click ‘Investigate’ which will redirect you to the associated alert within CrowdStrike for you to investigate.
If you don’t have an account yet to access CrowdStrike, reach out to info@zipsecinc.cc to get an account set up.
Investigating the risk in CrowdStrike
There are multiple recommended steps you can take to determine whether the alert needs further action or if it was a false positive.
1a. View the Detection details
If the link from the Zip console opens to a page like the one below:
- Click the “Actions” dropdown, then “Details view” to be taken to the detection details.

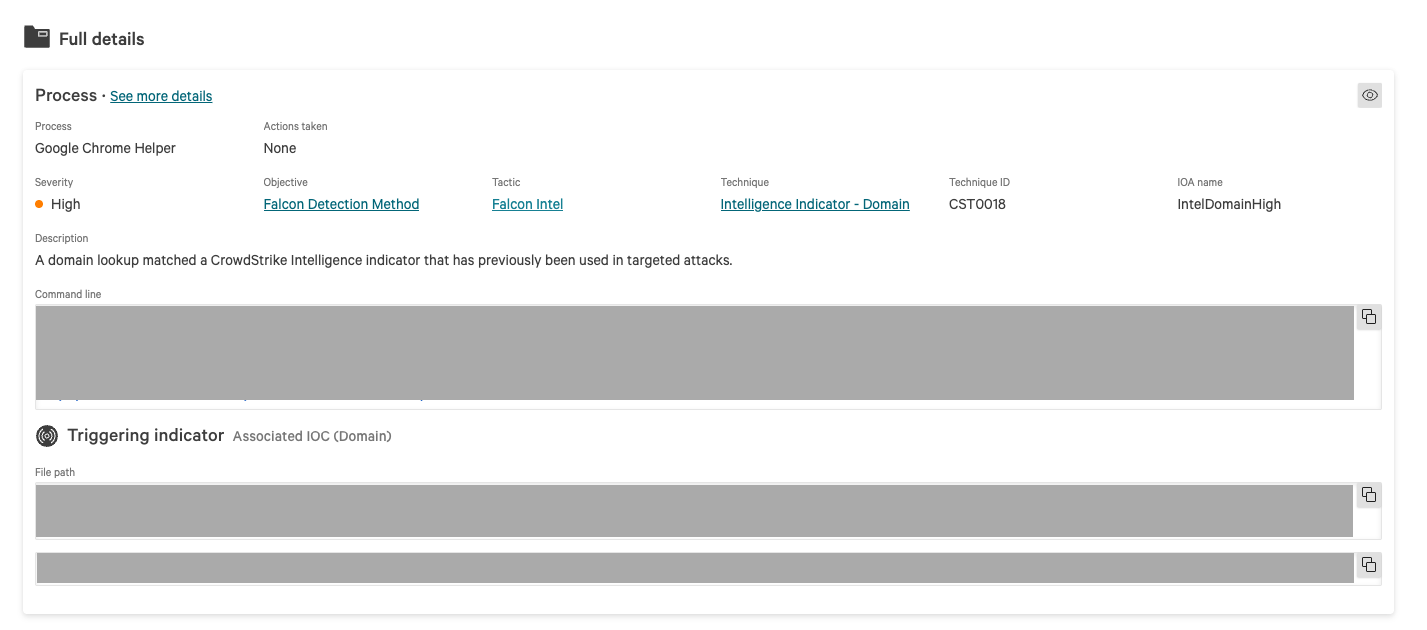
- From here, you can see
- Description: Typically this shows why CrowdStrike generated a detection and what was suspicious about the event
- Command line and Triggering indicator: This shows information about the specific commands or application/file that triggered the alert
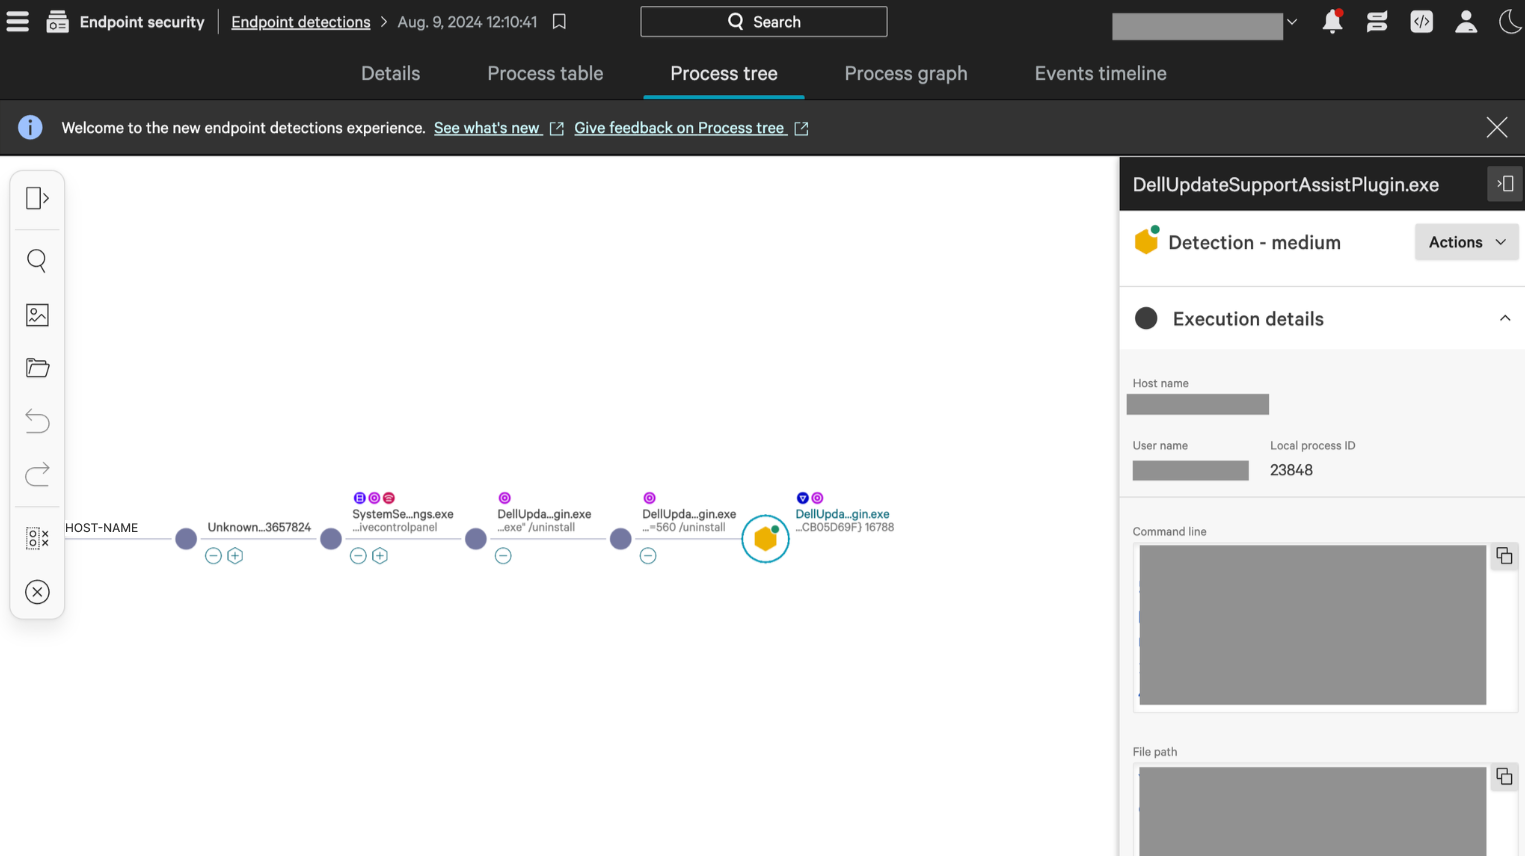
- You can also look through the “Process tree” to see the sequence of processes that led to the alert. Clicking on each process will show more specific command lines and file paths that were run.
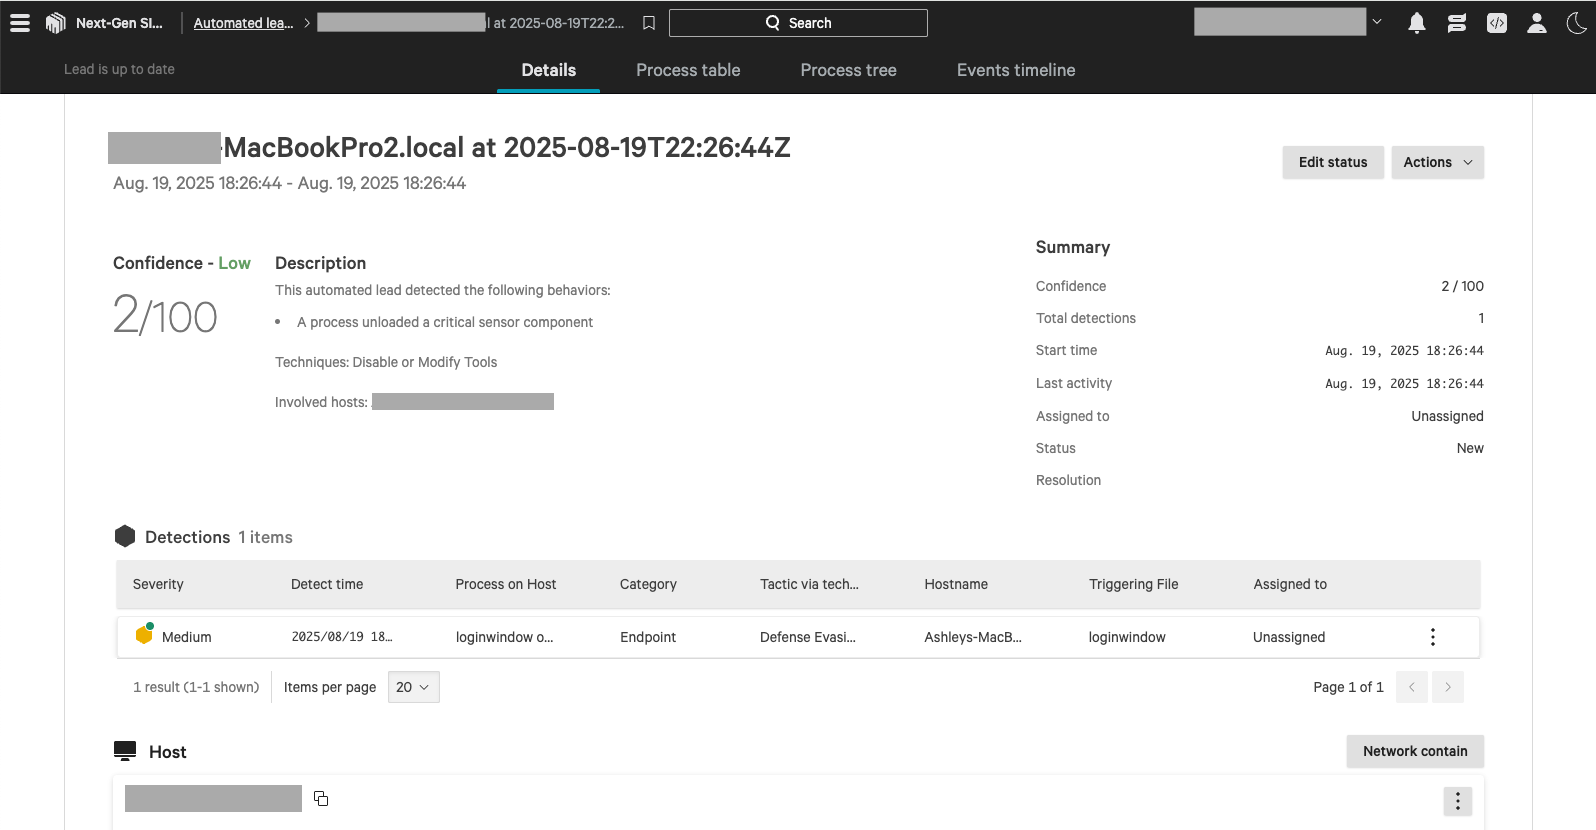
1b. View the Automated Lead details
If the above screens do not match what you see when clicking “Investigate” from the Zip console, it may be an Automated Lead.
An automated lead may contain multiple detections, so you can scroll to the Detections section, click the menu icon on the right side, and “View details” to view the same details as described above.
If you get lost navigating CrowdStrike, here are some helpful links:
2. Assess the risk
We strongly recommend using our MDR partner offering to have risk assessments and remediations handled by experts. That being said, some common initial steps you can take to assess risk are below.
Possible signs of a false positive:
- If the triggering indicator shows a familiar app that employees are expected to be using
- If you contact the user of the device/host and confirm that the file, app, or program triggering the alert was something that they downloaded or used at the time of the alert.
Attackers can use familiar day-to-day apps to perform a malicious attack. Context and specific behaviors are important in identifying whether something is normal.
Possible signs that a security expert is needed to investigate:
- If an alert is triggered by an unfamiliar file or process that was not performed by the user
- If the alert has Critical severity
- If the alert was triggered at an unusual time when the device should not be online
3. Triaging the alert
Once you have completed investigation within CrowdStrike and determined it was not a real threat, you will be able to triage and close the alert.
- Return to the Zip console, and click ‘Triage’:
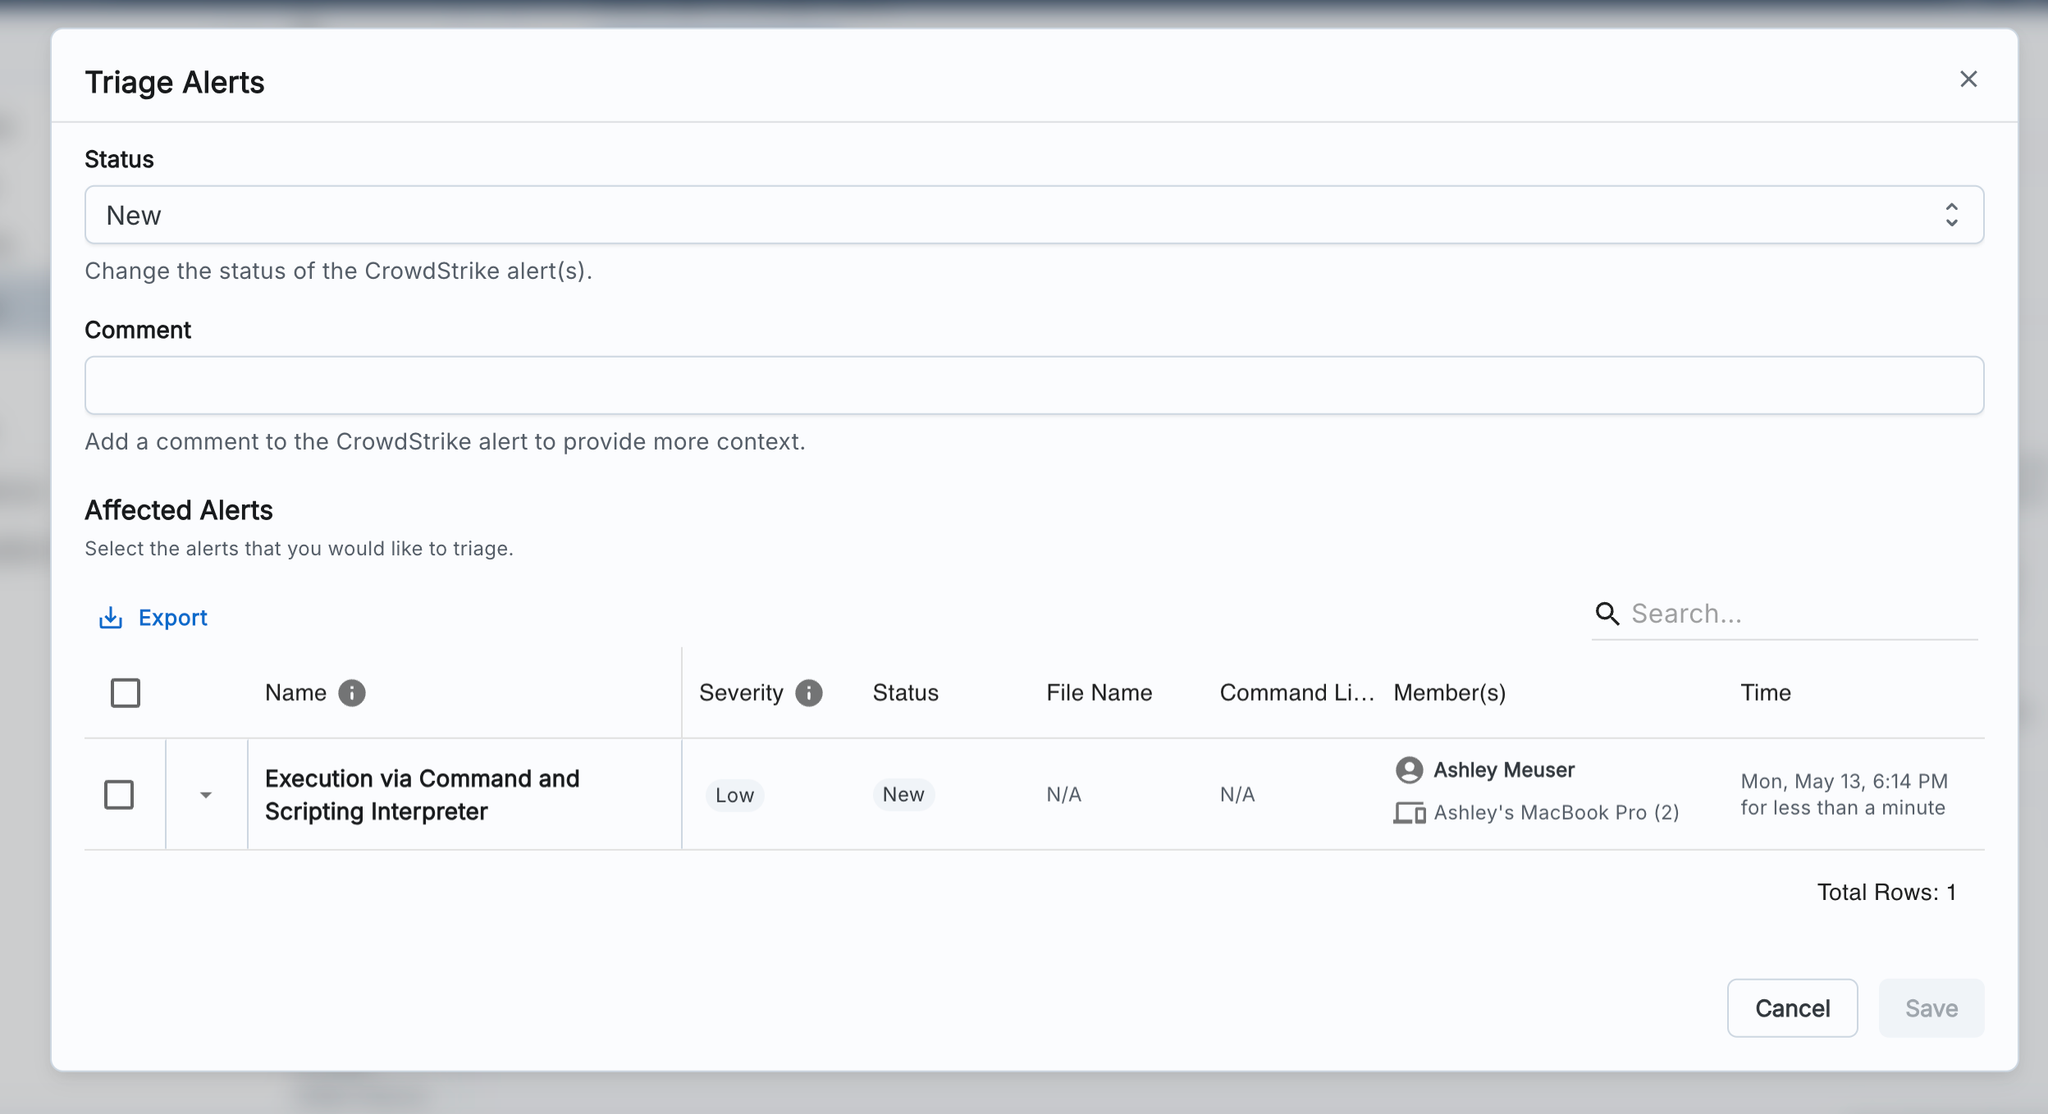
- Update the status accordingly, and/or add a comment to annotate it with context. Comments will annotate the original alert in CrowdStrike as well.
- Select the alert(s) you wish to triage in the table before clicking “Save”.
- You may see multiple alerts here because in CrowdStrike, a single Incident could encompass multiple related Detections.