
What is Apple Business Manager (ABM)?
ABM is a web-based portal that enables organizations to manage Apple devices efficiently. Some of our customers opt to use ABM to help manage their Apple devices and benefit from zero-touch deployment.
Pre-Requisites
Before follow the instructions below, it’s important to confirm two things:
- Please confirm you have an apple business manager account. If you don’t, you can set one up following the instructions here: https://support.apple.com/guide/apple-business-manager/sign-up-axm402206497/web
- Make sure you have access to your Jamf instance - email info@zipsecinc.cc if you need this!
Instructions
Please follow the below instructions to set up ABM for your organization:
Where you see the text
{{subdomain}} you should replace this with your organizations’ jamf subdomain: e.g. for zipsecurity.jamfcloud.com , {{subdomain}}= zipsecurity. - Confirm the Apple Customer Number is Active
- Navigate to https://business.apple.com/#/main/preferences
- Alternately, click on your Account Name in the bottom left hand corner and select Preferences.
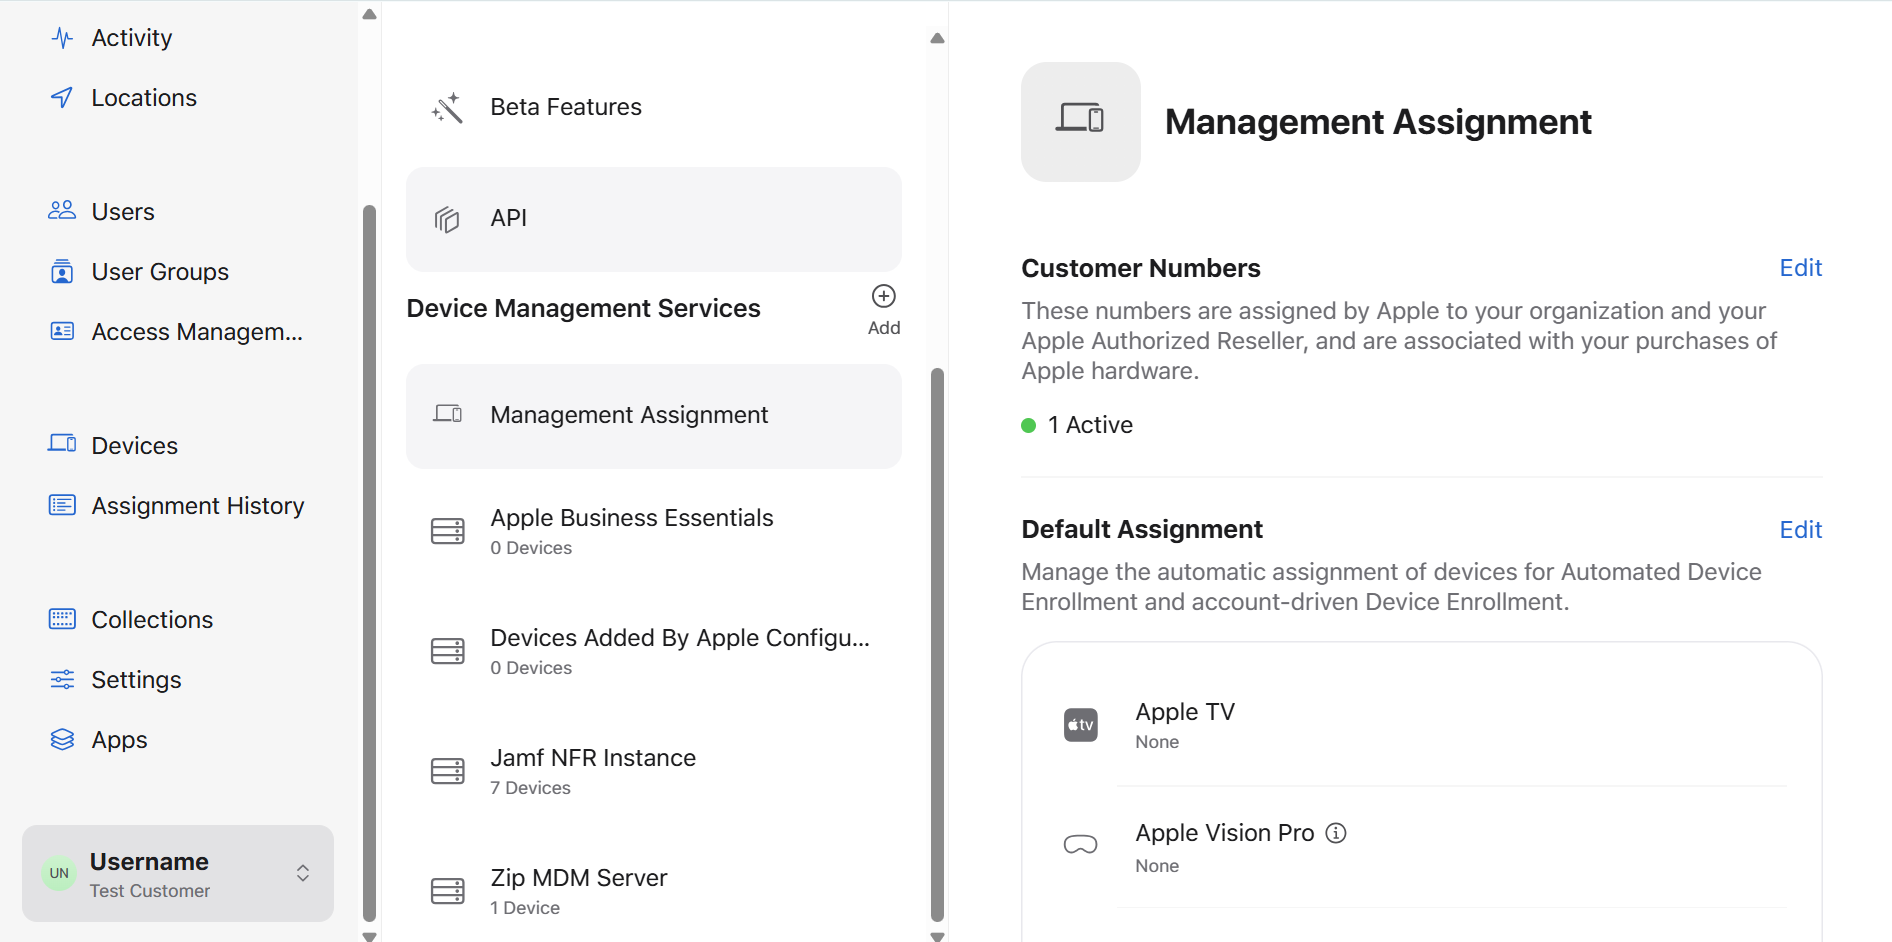
- Under the Device Management Services header, Select Management Assignment.
- Under the Customer Numbers header, confirm there’s an 🟢 Active indicator. If not, we can’t proceed! Reach out to info@zipsecinc.cc to explore additional options.
- Get the public key from Jamf
- Navigate to
https://{{subdomain}}.jamfcloud.com/deviceenrollmentprograminstances.html - Press Public Key (This downloads a .pem)
- Configure ABM to recognize the Zip-managed Jamf instance
- Navigate back to ABM: https://business.apple.com/#/main/preferences
- Next to Device Management Services, Select Add +
- Service Name = “Zip MDM Server”
- Service Settings > Upload Certificate
- Upload the .pem we just downloaded from Jamf
- Press Save
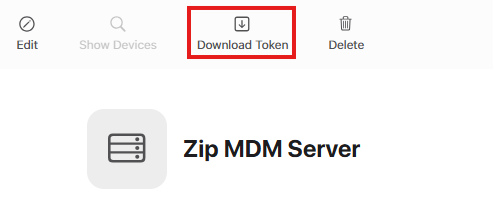
- Press Download Token (up at the top of the page)
- Click through Download Server Token (this will download a .p7m)
- Upload the ABM token in Jamf
- Return to
https://{{subdomain}}.jamfcloud.com/deviceenrollmentprograminstances.html - Press + New
- Display Name = ABM
- Press Upload Server Token File
- Upload the .p7m token we just got from ABM
- Press Save
- Confirm that all of the Apple ID fields have values
- Return to
https://{{subdomain}}.jamfcloud.com/deviceenrollmentprograminstances.htmland confirm that Last Sync exists
- Select the MDM Server we just created in ABM as the Default MDM service
- Return to ABM: https://business.apple.com/#/main/preferences
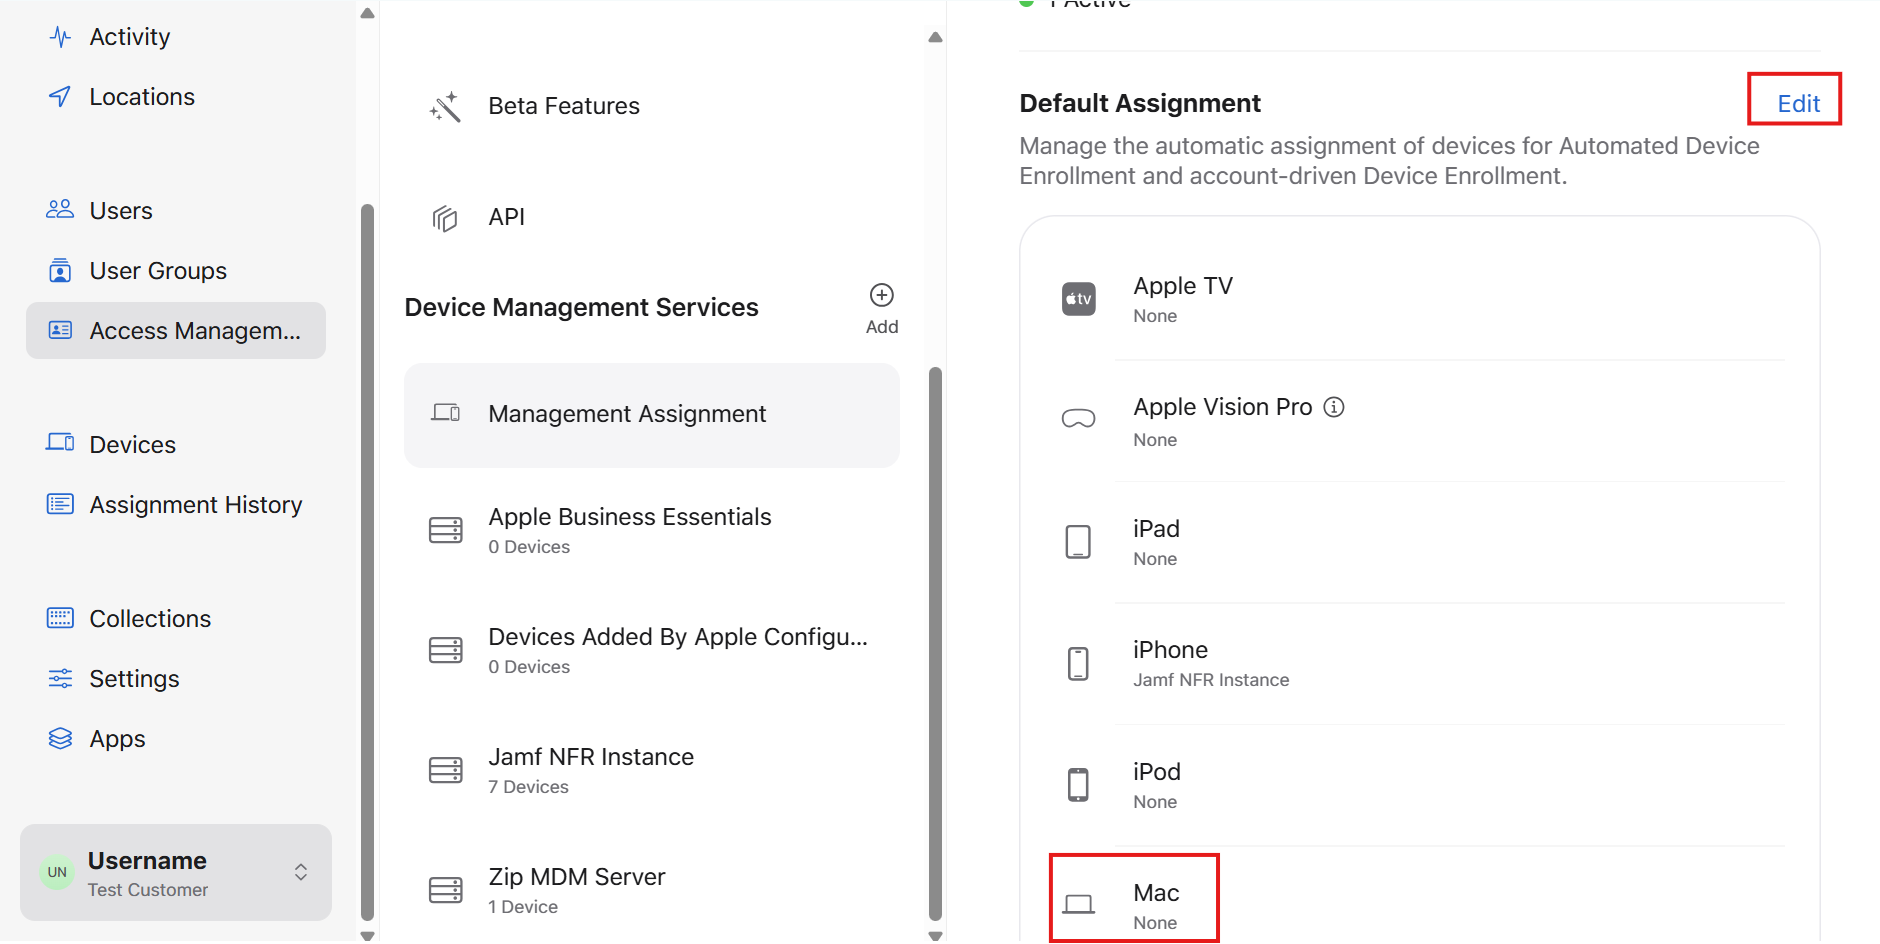
- Management Assignment > Device Assignment > Edit
- For Mac, select “Zip MDM Server” (what we defined above)
- Press Done
- Configure IdP based SSO during Pre Stage Enrollment
- Navigate to
https://{{subdomain}}.jamfcloud.com/view/settings/global-management/enrollment-customization - Press + New
- Display Name = “SSO Sign in Pane”
- Description = “SSO Sign in Pane for Google Workspace”
- Under PreStage Panes, Press + Add Pane
- Display Name = “SSO Sign in”
- Pane Type = “Single Sign-On Authentication”
- Configure Enrollment Access For = “Any identity provider user”
- Enable Jamf Pro to pass user information to Jamf Connect = “Disabled” / Off
- Press Apply
- Define what the MDM server will do
- Return to
https://{{subdomain}}.jamfcloud.com/deviceenrollmentprograminstances.html - Press + New
- Within General
- Display Name = “Zip MDM Server”
- Automated Device Enrollment Instance = ABM
- Check Automatically assign new devices
- Check Make MDM Profile Mandatory
- Check Prevent user from enabling Activation Lock
- Enrollment Customization Configuration, select SSO Sign In Pane
- Within Setup Assistant Options, check everything but…
- Location Services
- Terms and Conditions
- Touch ID / Face ID
- Choose your Look
- Accessibility
- You’re done!
Renewing ABM Certificate
After setting up your connection between Apple Business Manager and Jamf, you may need to renew the certificate. Please follow these instructions:
- Renew the token in Apple Business Manager
- Log in to your ABM account navigate to the Preferences page.
- Under “Device Management Services”, select “Zip MDM Server”.
- At the top of the Screen, click “Download Token”.
- This message will pop up: “Downloading a new server token will reset your existing one.” Click Download Server Token to confirm.
- A .p7m file will be downloaded to your device.

- Upload the AMB token to Jamf Pro
- Navigate to
https://{{subdomain}}.jamfcloud.com/deviceenrollmentprograminstances.html - Click on the name of the existing token. It should be display name
ABM - Click Edit in the bottom right corner
- Press Upload Server Token File
- Upload the .p7m token we just got from ABM
- Press Save
- Confirm that all of the Apple ID fields have values
- Confirm that the expiration date has been refreshed to a future date.
- Please e-mail info@zipsecinc.cc with this expiration date for our records.
Questions? Here’s how to reach us:
- Email: info@zipsecinc.cc